Hiving my First Bees
by Cynthia Brast
San Juan Island, WA
They’ve arrived!
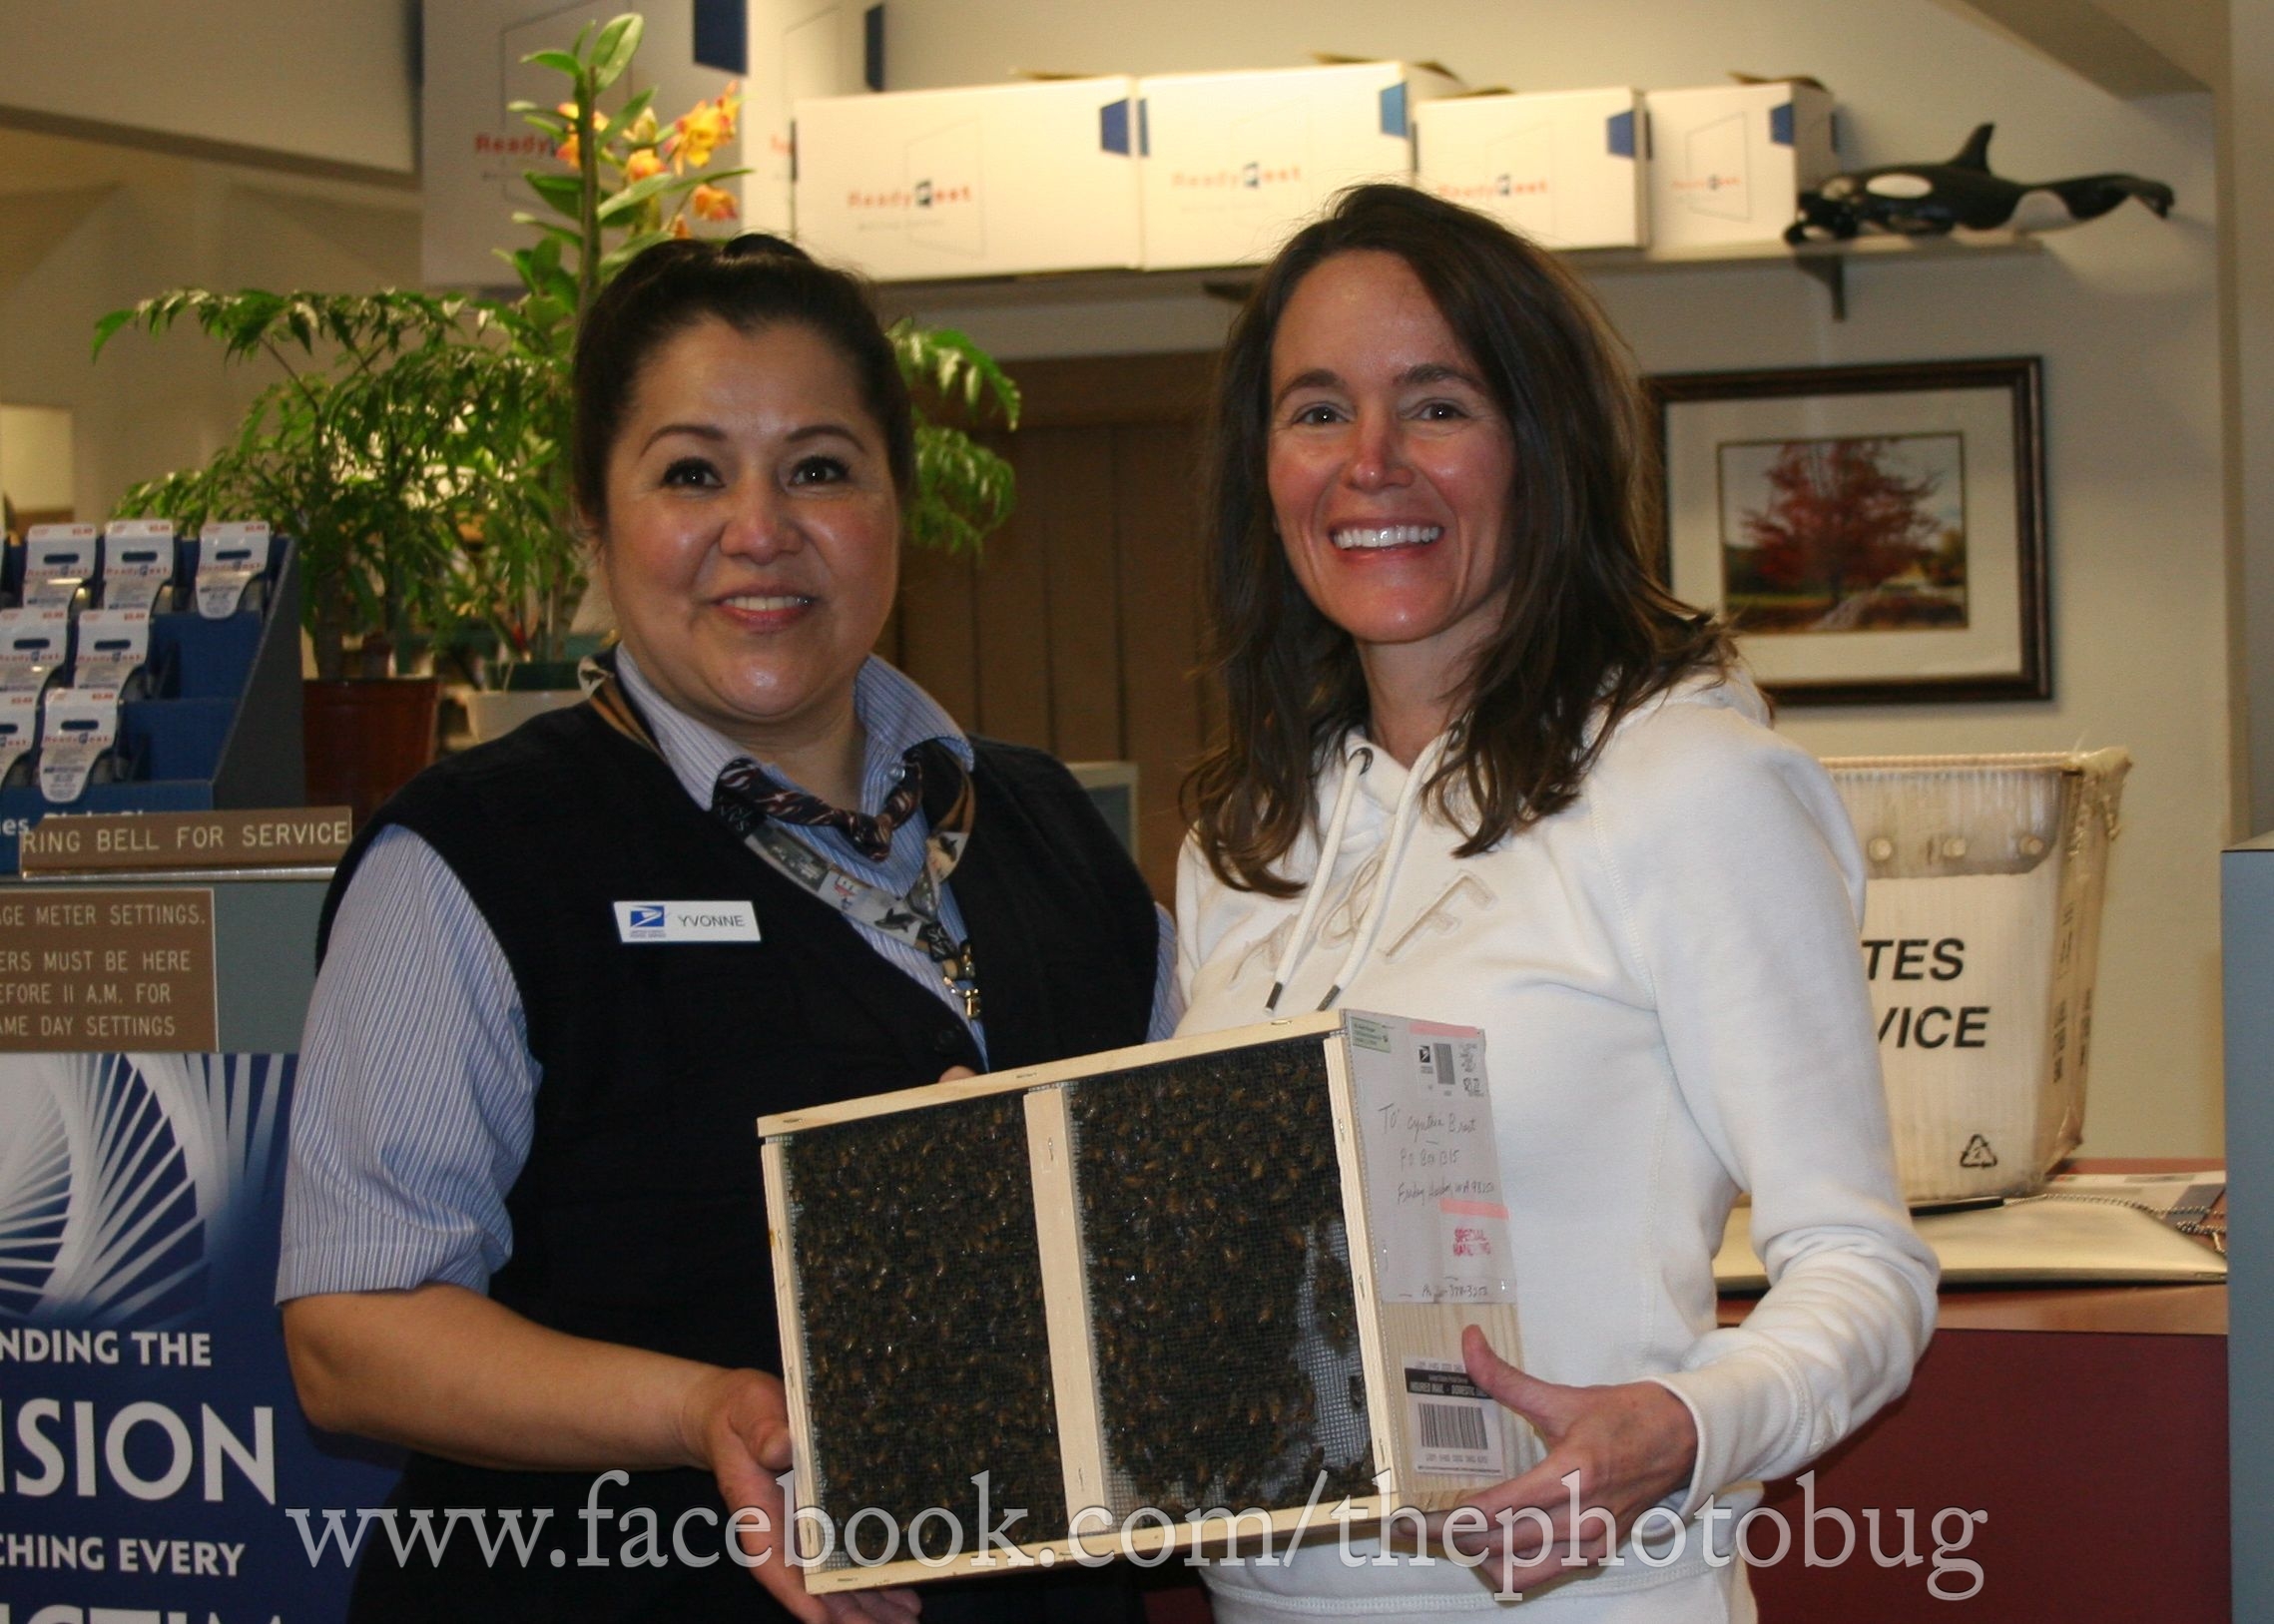
The bees came today – April 11, 2012, after shipping from Oroville, CA on April 9. I picked them up this morning at the Friday Harbor Post after they called at 07:30 a.m. to let me know the bees had arrived.
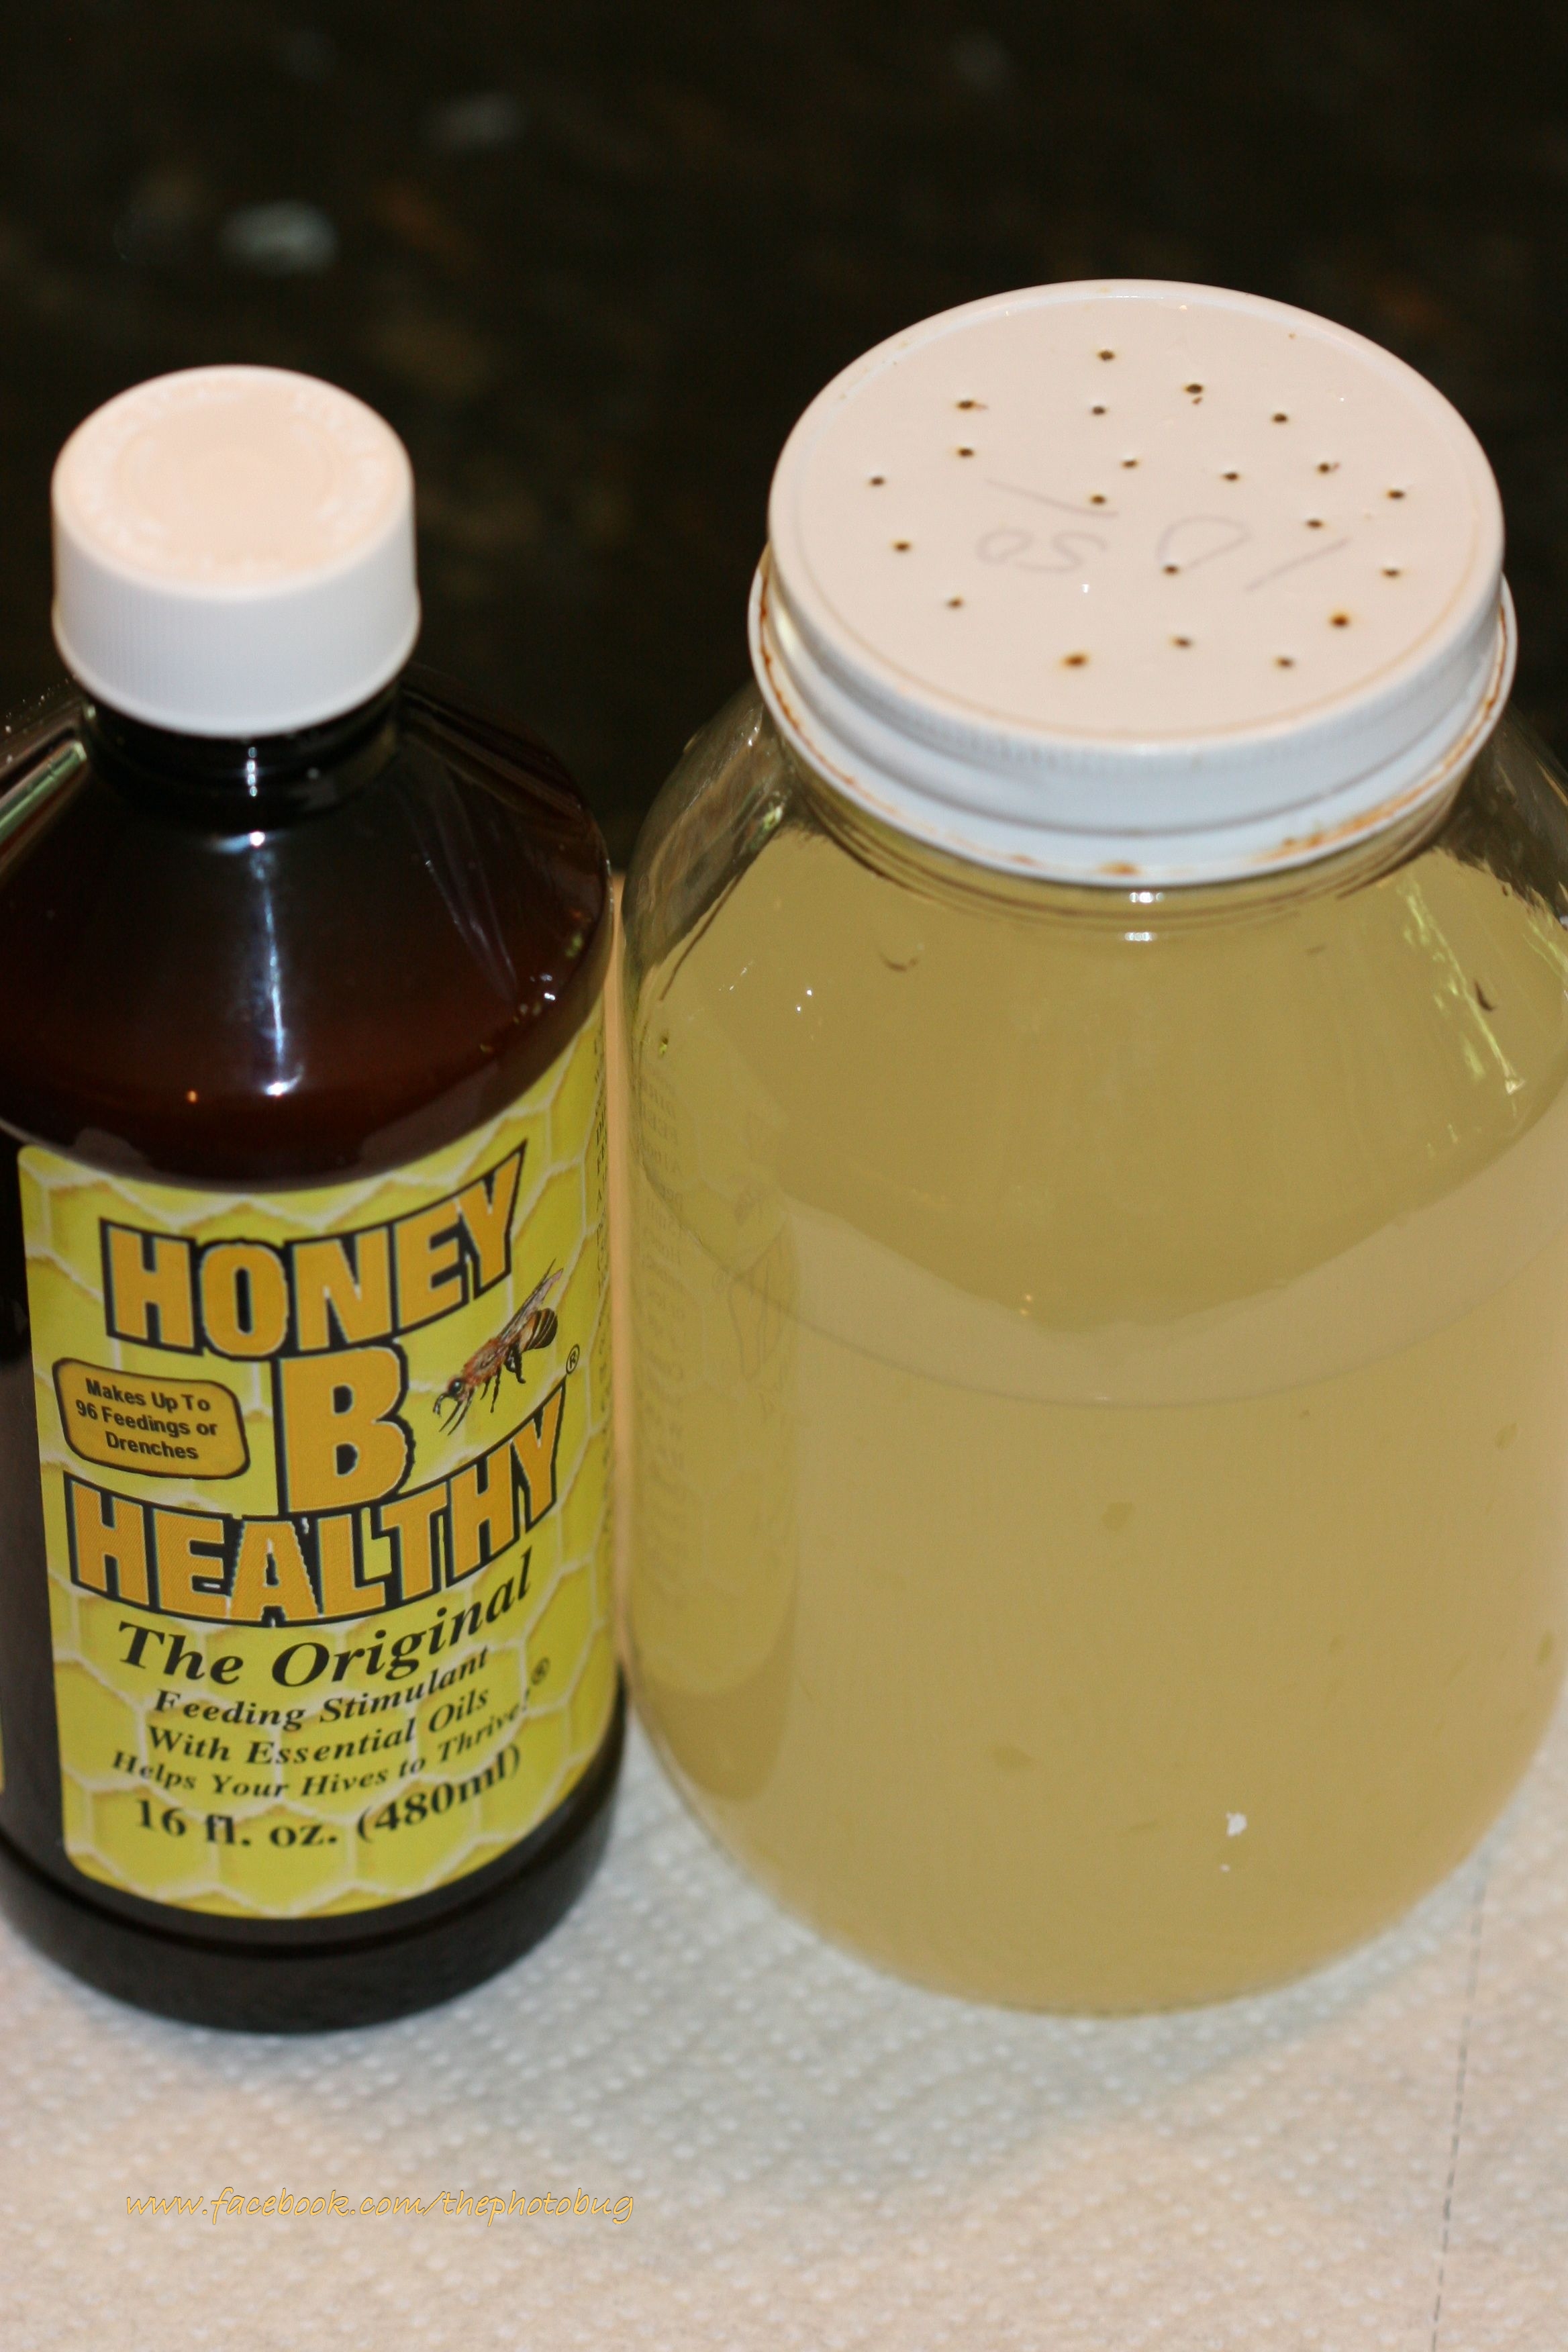
My package of Italian bees was calm and quiet when I put them into my vehicle, but I noticed more activity as I drove the 12 miles to my house. Upon arriving, I sprayed the package with a mist of sugar water in a 1:1 ratio. I was mesmerized by the energy coming from the package. There was a natural heat radiating from the box, and a rhythm…almost like a heart beating. I also noticed a sweet, fragrant, bees-waxy smell diffusing from the package.
My plan is to hive the package today after 4:30 p.m. I am waiting for my daughter to come home so she can observe…and take photos! The bees have spent the afternoon in the basement area of my house where it is about 60 degrees and quiet.
Unfortunately we’ve had some rain here today. Outside right now at 4:13 p.m., the temperature is at 50 degrees. We have a light drizzle. I misted the bees again about an hour ago.
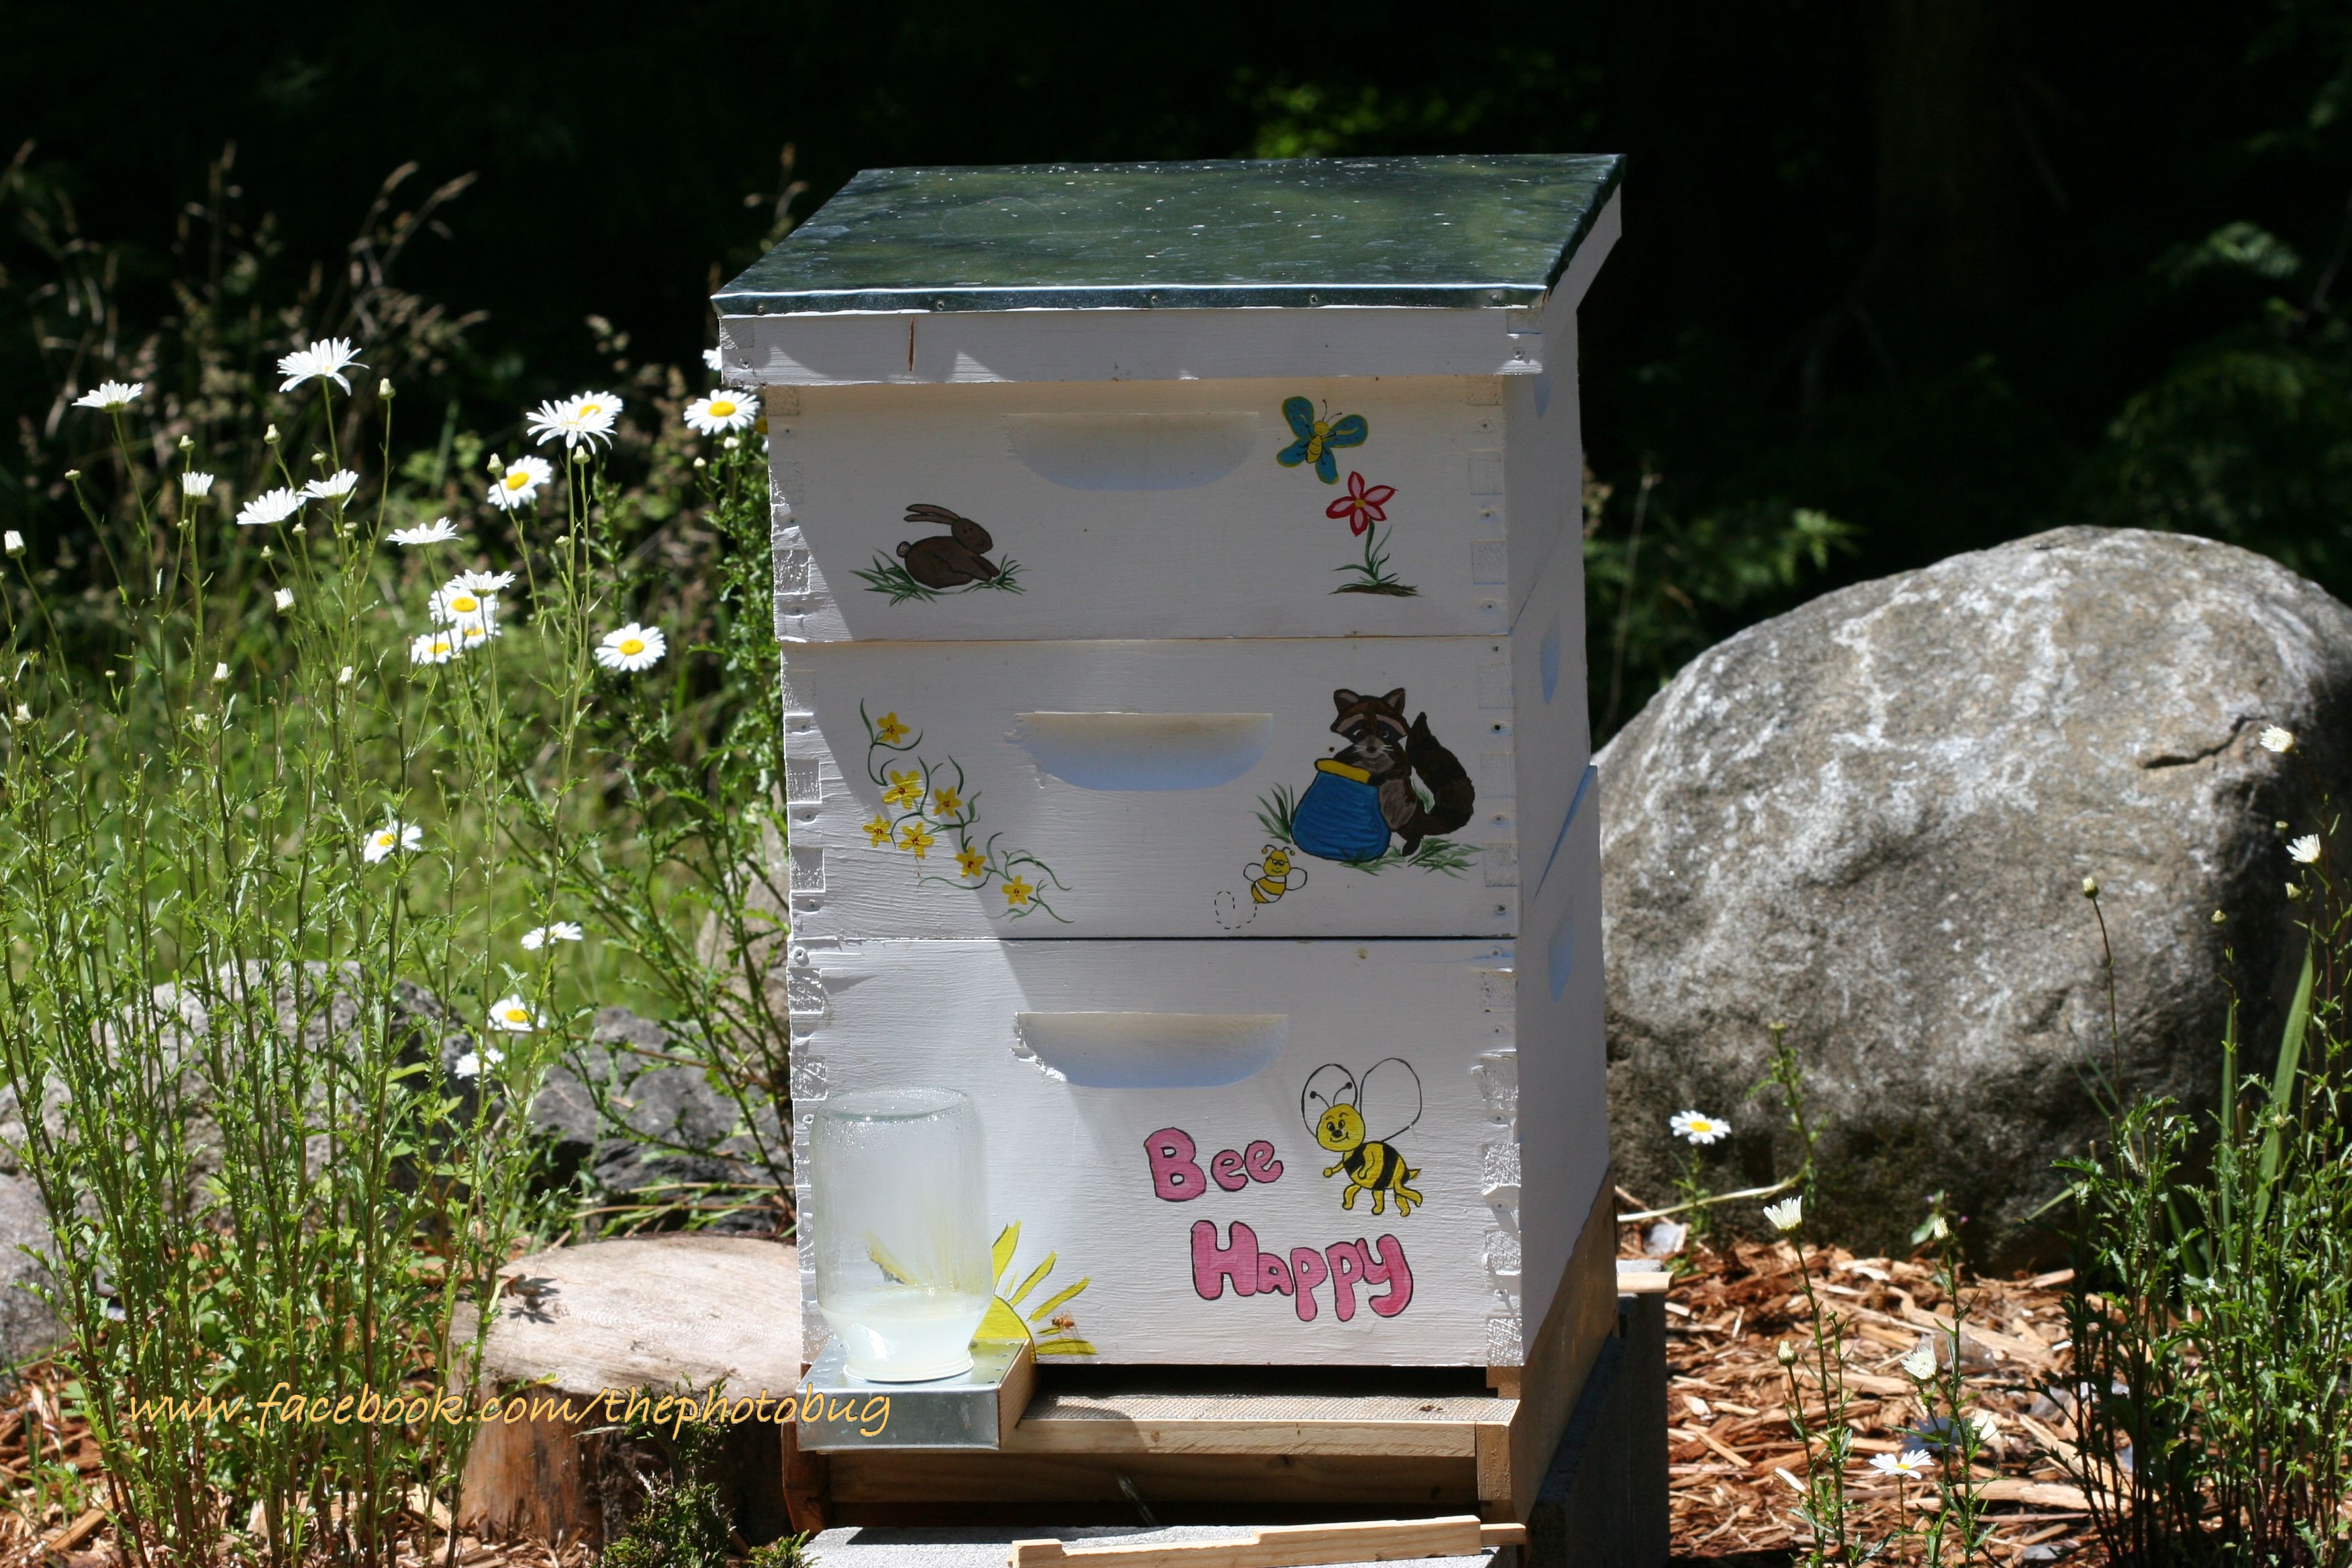
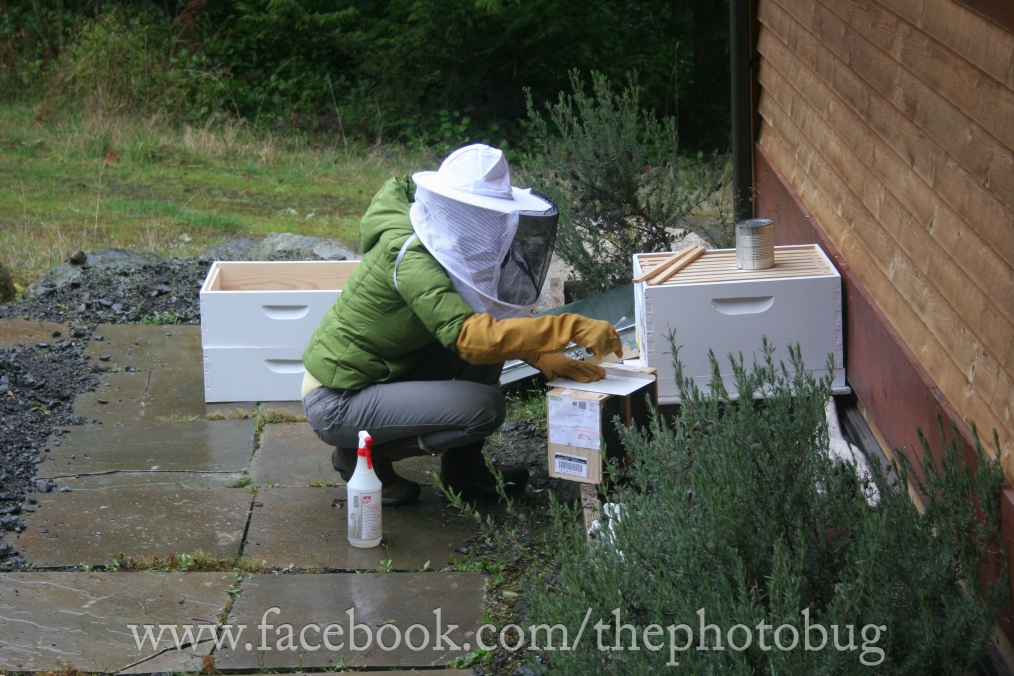
My hive site is actually up against my house. Partly for convenience for me and partly because that spot has a good overhang from the roof where the hive will stay dry and also to help the bees stay warmer since we are in the Pacific Northwest. The added heat will be especially helpful in the cold winters here.
To prepare for my installation, I have one deep super with 9 frames inside. I am going to mist the frames lightly with the sugar water solution beforehand. When I am ready to start, I’ll mist the package of bees, turning the box carefully to make sure I’ve covered them. This will keep them from flying out and also distract them as they will be eager to clean the sugar water mist off themselves. Then, I will remove the can of sugar water in the package and take out the queen. I definitely want to check to make sure she’s healthy and look for her mark. I have a cardboard piece to cover the hole left in the package after I remove the can of sugar syrup so the bees don’t start to escape before I’m ready to put them in the hive.
So, after the queen is out and checked, I am going to take out the cork that seals her queen cage and stick a marshmallow there to allow the workers to release her on their own. Having the marshmallow there allows the rest of the bees to “accept” the queen while chewing through the marshmallow. In a couple of days, the marshmallow will be removed by the workers, giving them time to get acquainted with the queen inside and set her free.
The queen cage will need to be hung, marshmallow end up between two of the frames in the deep super. There is a metal strip that I can bend over the top of the frames, providing a nice, secure hook. Then, my plan for the best release given the wet drizzle outside is to stack two empty shallow supers on top of the deep and gently turn the box of bees upside down over the bottom deep super. The shallow supers will allow me to leave the packaged bee box inside the hive overnight and will be kinder to the bees than shaking them out where some may try flying off in the wet weather. I also plan to put my Boardman feeder jar inside the hive, placing it on top of two wood strips over the deep hive frames. This is so the bees won’t have to crawl down through the deep super and into the Boardman feeder at the hive bottom tonight, and will make it easier for them to access the sugar syrup after their transition from the package. I also have a 2nd jar feeder that I am going to place along with the other, giving them plenty of food for the night.
Did I mention??? The bee suit I ordered still hasn’t arrived. I have a pair of gloves and a veil. That’s all the gear I will use this evening. Hopefully the bees will bee-kind!
How it went!
Hiving the package went surprisingly well for me as a new”bee.” I encountered only one small hitch in the process and actually could have installed the bees sans the veil. There was quite a hum from the package, but the bees must have sensed the evening was upon them and had clustered pretty well together.
I had all my equipment/supplies at hand: spray bottle of sugar water, hive tool, the hive supers, a small nail, marshmallow, cardboard, and a small screwdriver. After misting the bees, I carefully opened the package. The tape was cumbersome and I took care to peel all of it off the box. I used the small screwdriver to pry the edge of the feeder can up and carefully removed it, covering the opening with my piece of cardboard while I set the can aside.
Next, I removed the queen. Her wooden cage was hung in the package with a small metal extension that hooked into a groove at the top of the package. I slid the metal through the groove and then removed the cardboard makeshift cover over the top to allow me to bring the queen cage out. I replaced the cardboard over the package opening and set my hive tool on top to hold it in place while I checked the queen.
The queen was in the cage alone with no attendants. She was active and looked to be healthy. My “hitch” in the installation came at this point though as I realized she was not marked. I also did not have my reading glasses on under the veil and it was impossible to see if she was clipped. I should have taken the time to remove my gloves and veil and go into the house to get my glasses. It was raining and the gear was cumbersome, the porch had become slippery because some of the mist from the sugar water drifted, so in hindsight, I should have just made sure my glasses were outside and handy. This is good information for me as the next time I will feel more confident in the process and probably ditch the veil if not the gloves.
I went ahead with the queen installation and removed the cork from her cage using my small nail to pry it out and carefully replacing it with a marshmallow, so the bees will be able to release her themselves. I hung the queen cage over one of the 9 frames I had spaced in the deep super except that I hung her with the marshmallow side down. This shouldn’t be a problem as there were no attendants inside her cage to block any exit if they died.
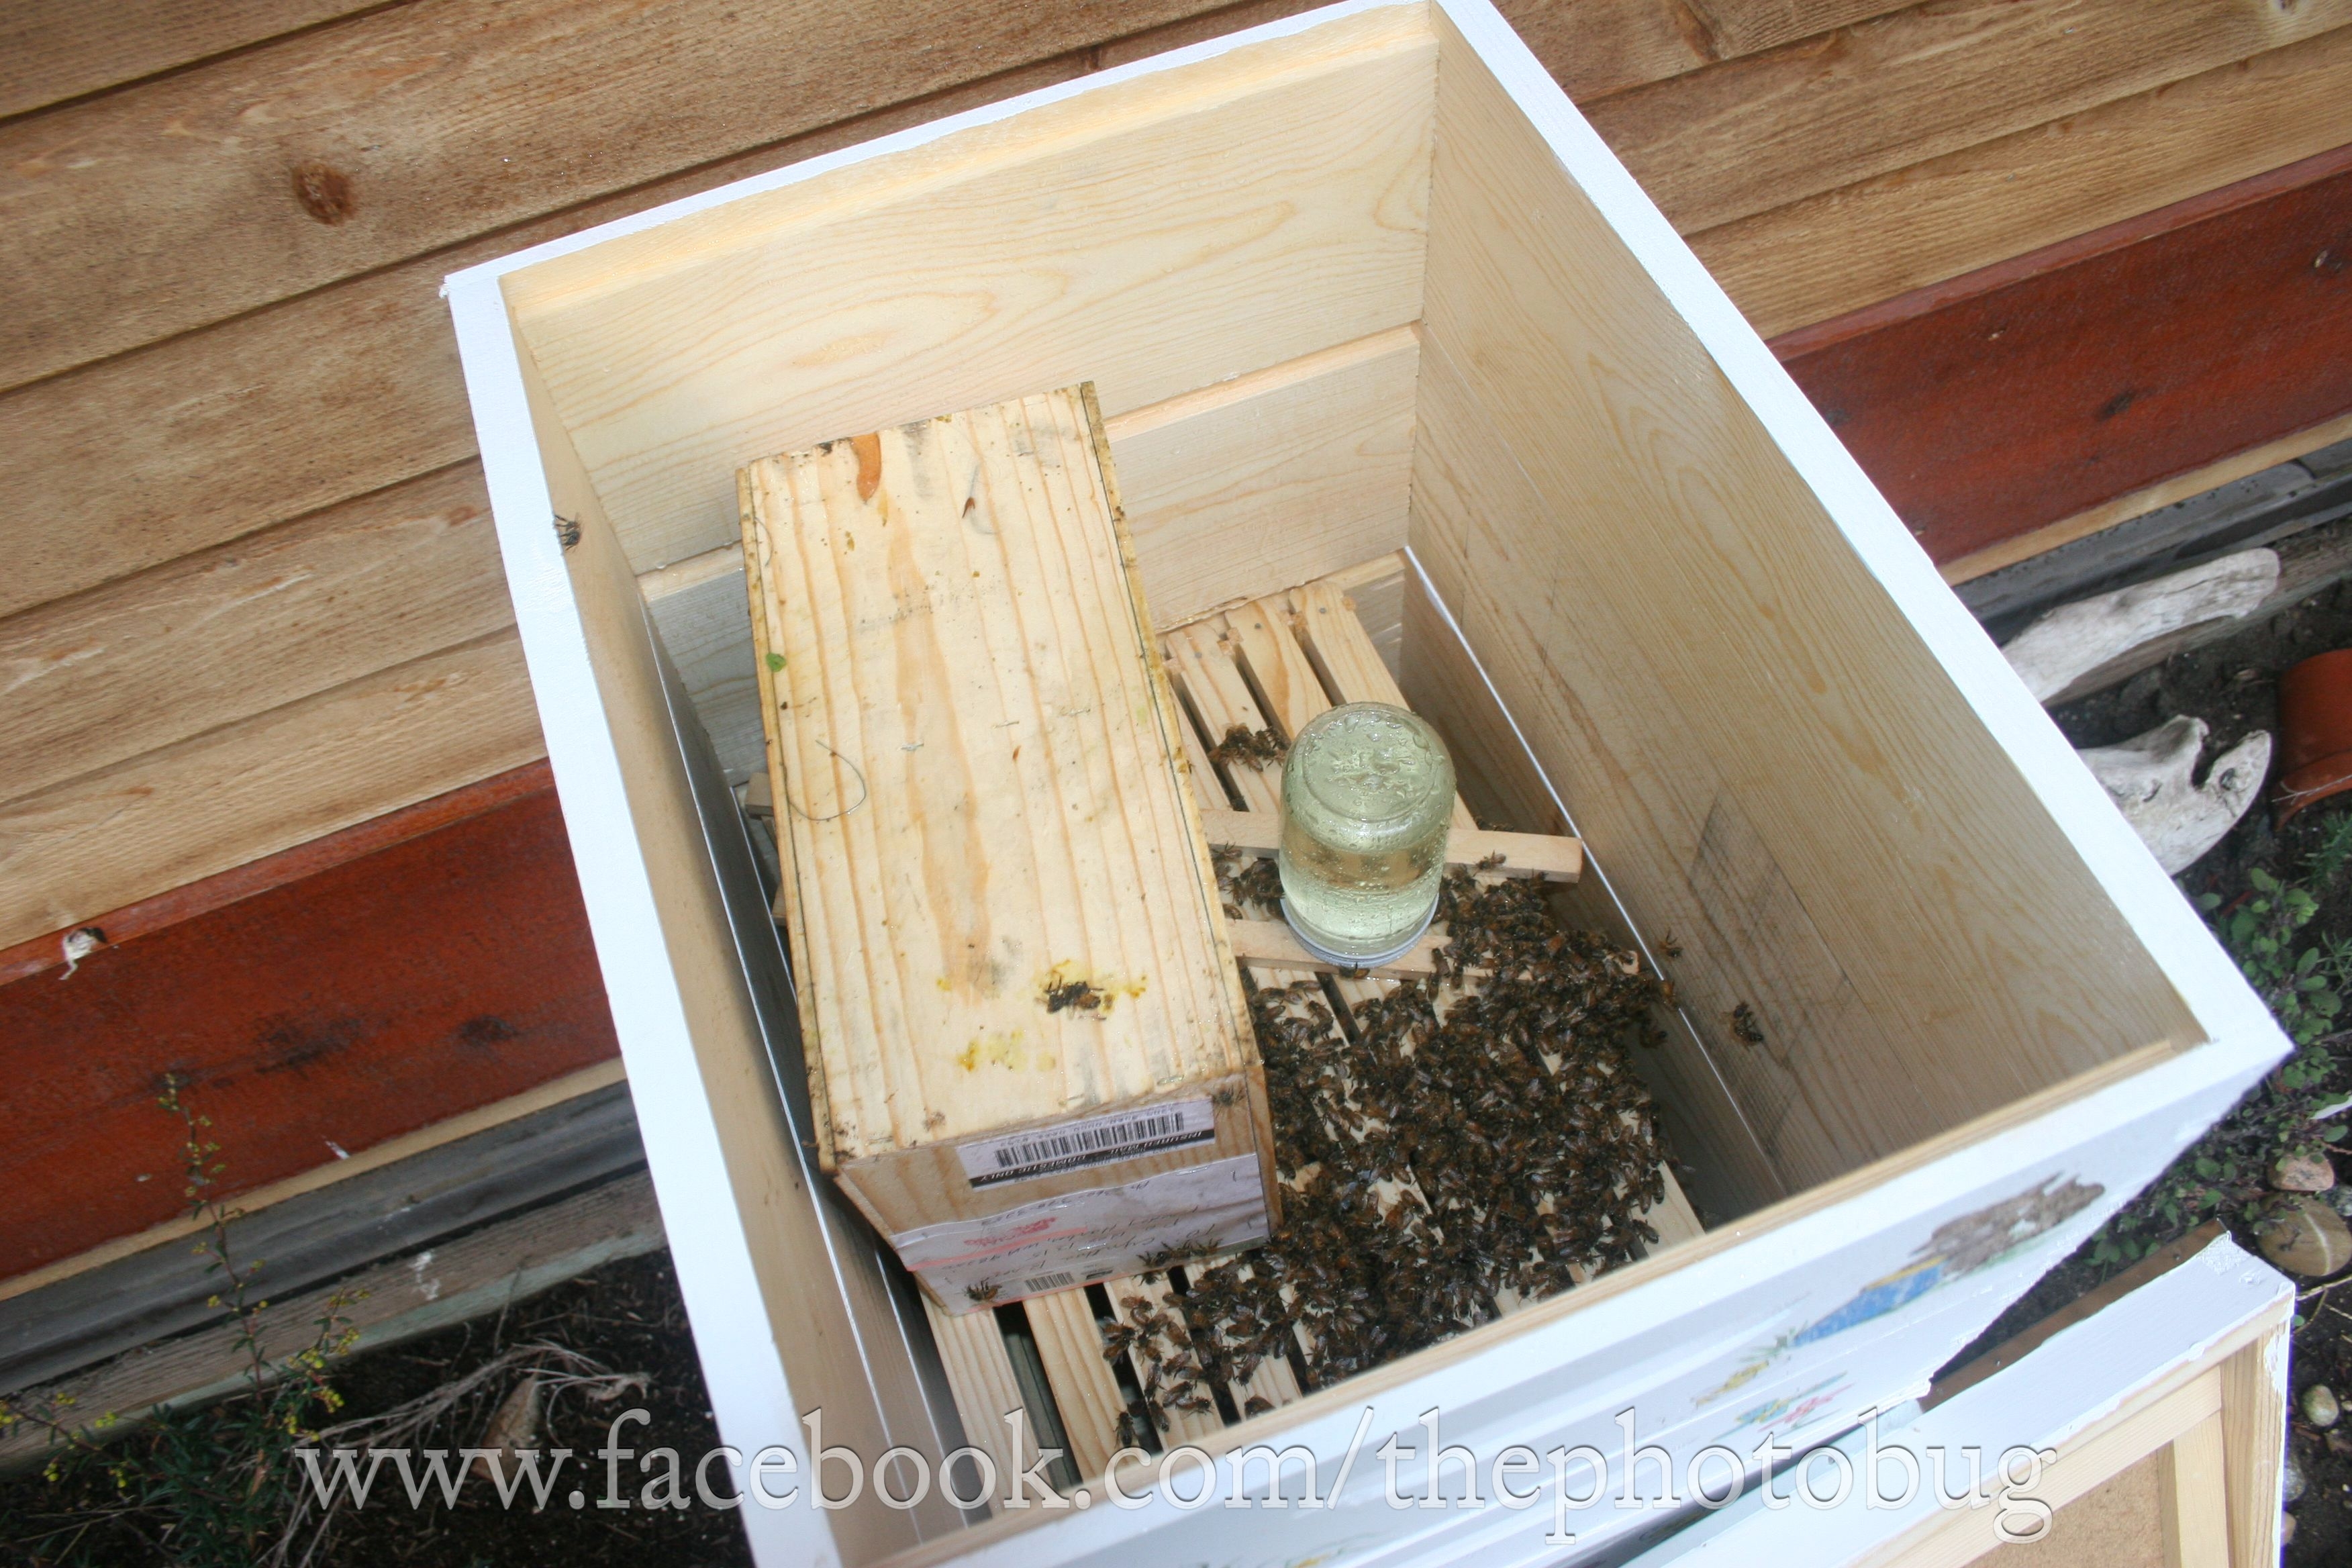
Next came the bees. As outlined earlier, I had two empty shallow supers I set on top of the deep and I inverted the box, slid the cardboard covering the opening away and the bees were able to come out onto the frames. This went really well. There were a few fliers, but I gently misted the bees again to keep them from escaping.
After positioning the package so I could leave it in the hive overnight, I then set the jar feeder I had prepared next to the package. The jar feeder I inverted and set on two small wood pieces that would elevate the jar just enough to allow the bees easy access. This also went extremely well and I was able to complete the installation by placing the inner and outer cover on the hive.
My last steps were to take my extra Boardman feeder jar and place it on outside holder of the hive. Originally, I had intended to put both feeder jars inside the hive, but changed my mind in the process. I had trouble getting the Boardman holder to stay in position and had to wiggle it in next to the entrance reducer. At first, there were some bees coming out under the Boardman feeder and this allowed me to see that it wasn’t pushed in all the way. With that corrected and my entrance reducer in place, I had finished and the bees were ready for their first night in a new hive.
Photos
My daughter was great and assisted me in the installation by handing me equipment as necessary, but most importantly, she documented the process by taking photos and video. Some photos can be found below and are also available to view on Facebook at http://www.facebook.com/thephotobug.

With Yvonne at the Friday Harbor Post Office
San Juan Island, WA 98250
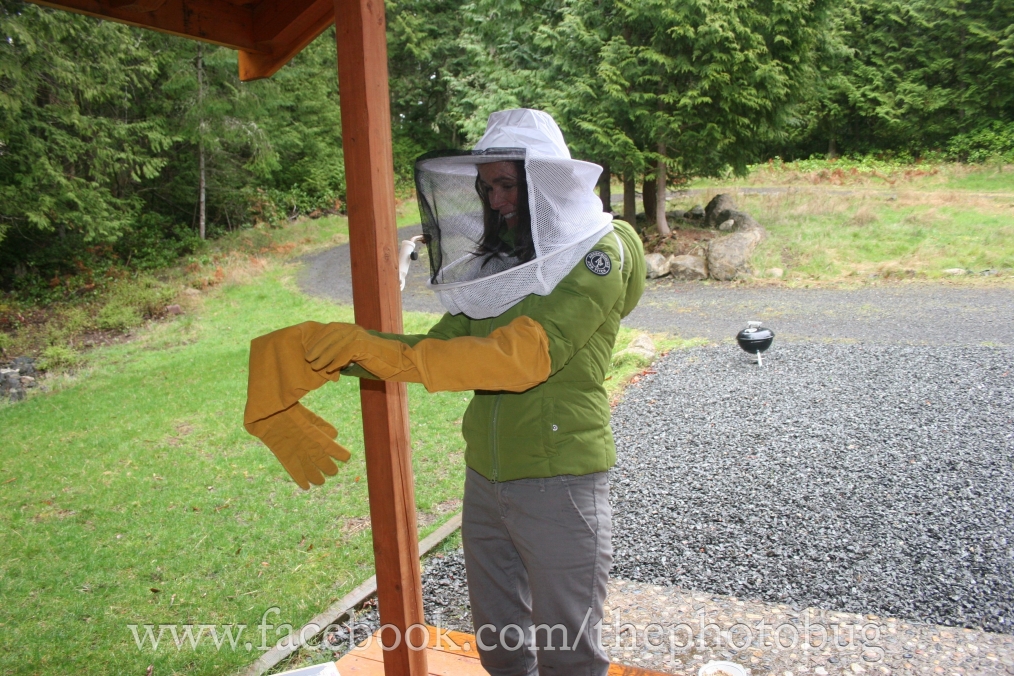
Donning my gloves!
Removing the Queen Cage
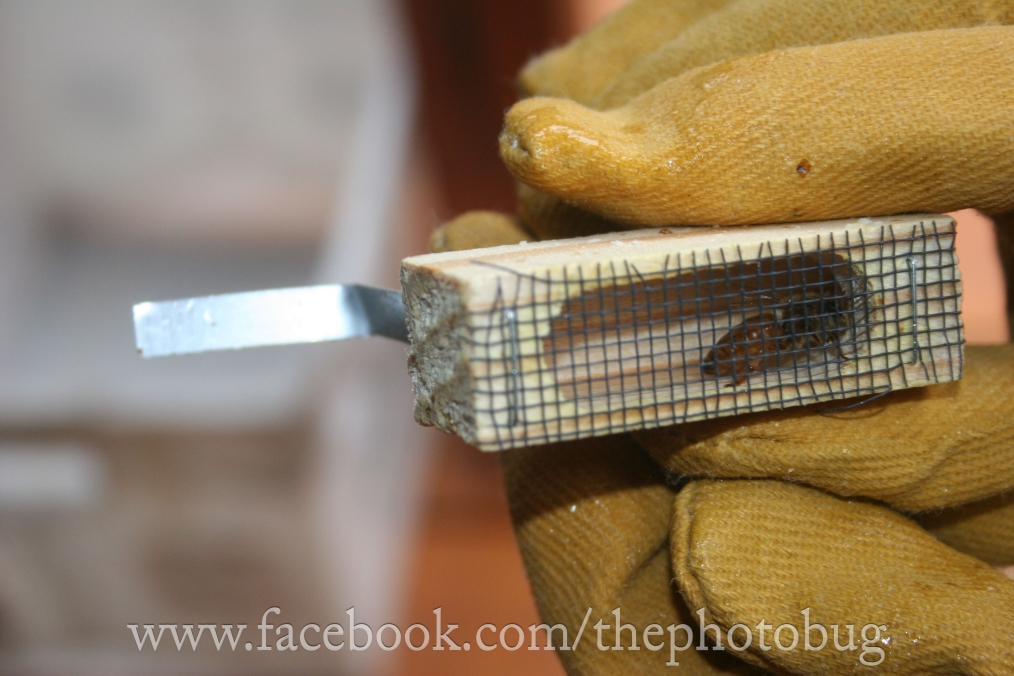
The Queen!
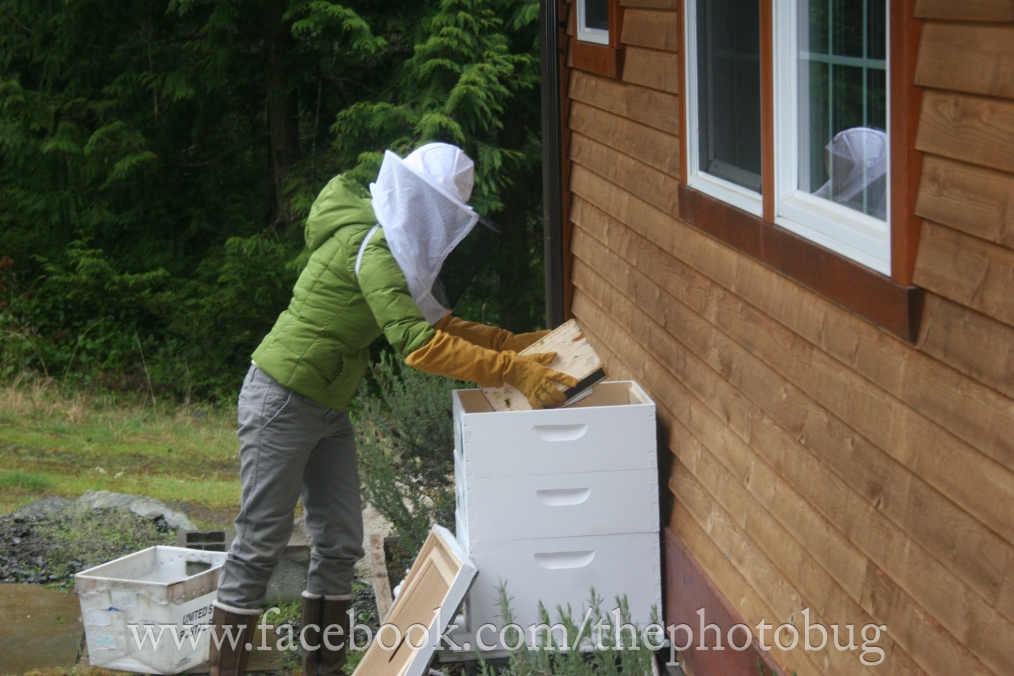
Putting the package of bees into the hive.

Inside view
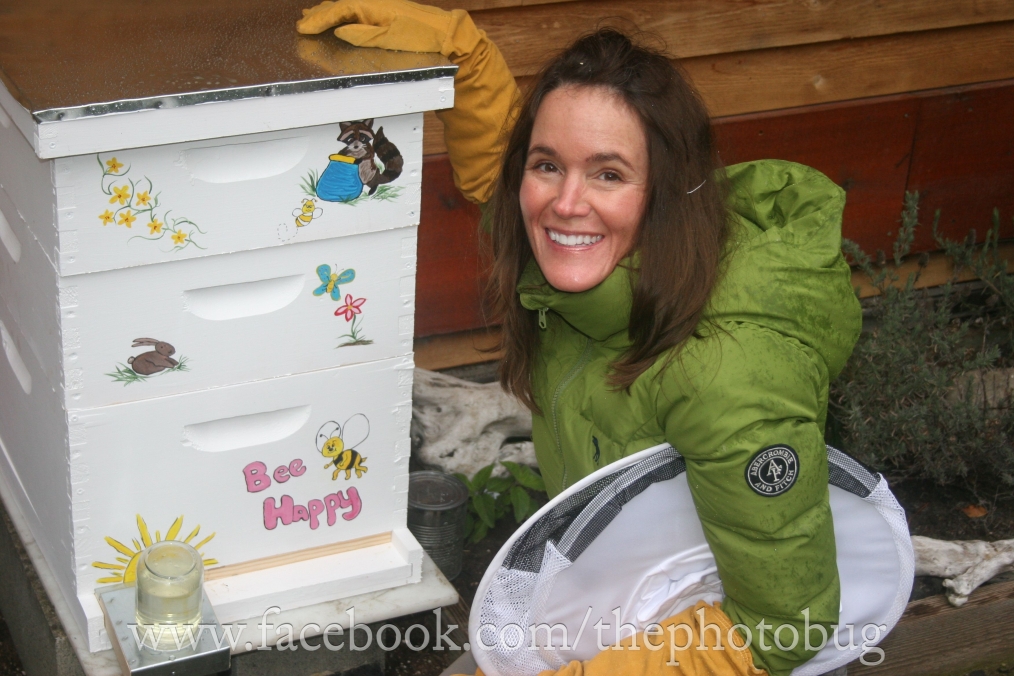
All Done!
The End!